Hi DaneLLL, thanks a lot for the instruction. The result seems much better. Can you tell me how to exit from the full screen mode when running your command?
Unlike using the other command with “nveglglessink -e”, the video window frame is now gone. I can’t drag out the window in order to access the GUI and terminals in order to stop/restart the camera.
Further, I’d like to learn the different between two methods in term of the pipeline flow. I can sense a difference in gain control, and perhaps other noise deduction processes. Appreciate if anyone could elaborate and share the insight.
P.S.
I tried to replace “nvoverlaysink” with “nveglglessink -e”. The command failed with a prompt “erroneous pipeline: could not link nvcamerasrc0 to eglglessink0”
I also looked at the document “ACCELERATED GSTREAMER FOR TEGRA TX1 USER GUIDE” regarding the video sink, still couldn’t figure out what to do.
Using the overlay may sometimes be difficult. I would advise to set the terminal in full screen mode before launching the gstreamer pipeline, and don’t use alt/tab keys or click mouse that may change the focused window receiving events, so that Ctrl-C can be catched by the terminal and stop gst-launch.
Usually, this is used without GUI, and launched from a console catching the INT signal.
You can check the various parameters available from nvcamerasrc with:
gst-inspect-1.0 nvcamerasrc
You may play with some of these.
If you illuminate more your scene, you should get a better image (I think the darker the scene, the higher gain and higher noise).
@Honey_Patouceul, thanks for the tip. Don’t click on the display does the trick! Otherwise I had to press the “reset” button each time after running the “nvoverlaysink” command. Now I can stop the video right away by Ctrl+C.
I looked up the paramerters list and tried to set the property for nvcamerasrc, but the change of setting seems making no difference. For example, I tried to add “auto-exposure=1” to both methods of display sink. No obvious change to the outcome.
Back to the video quality. By using “nvoverlaysink”, the image looks brighter, and has a smoother display (less snowy static) particularly in the shady area.
I wonder if I could get an example of setting the property for nvcamerasrc, such as exposure, saturation, etc. I might not have used the CSI-camera commands correctly, I’m afraid.
Though I was also testing another customized carrier board with IMX219, getting a similar
static noise. I posted the on-board camera result, which is easier for people to duplicate and discuss the issue.
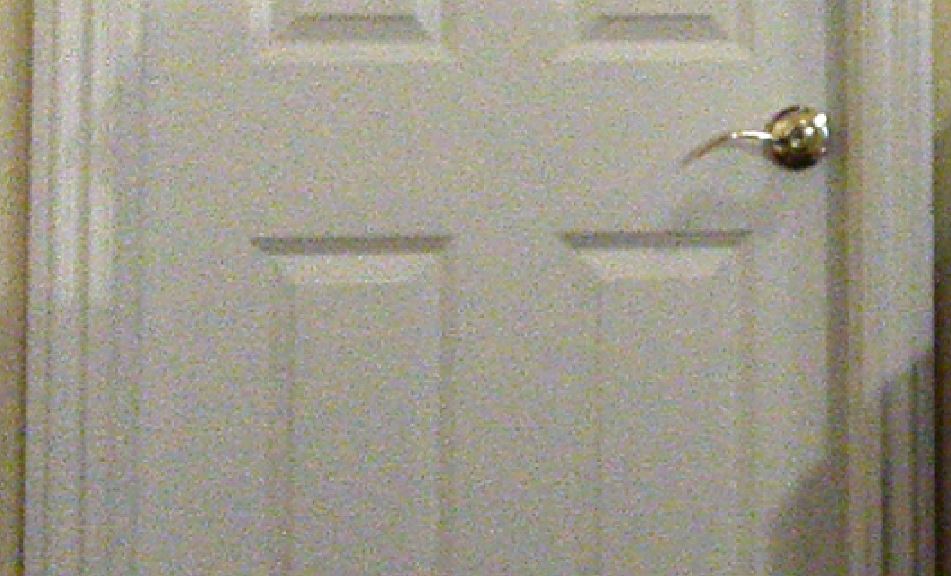
Well, not a failure in a sense. It’s more an issue regarding the ISP functionality. The video from the onboard camera is covered by snowy statics, which needs to be processed in order to satisfy a commonly perceived “quality”. See a snapshot for the problem Dropbox - door_ov5693.jpg - Simplify your life
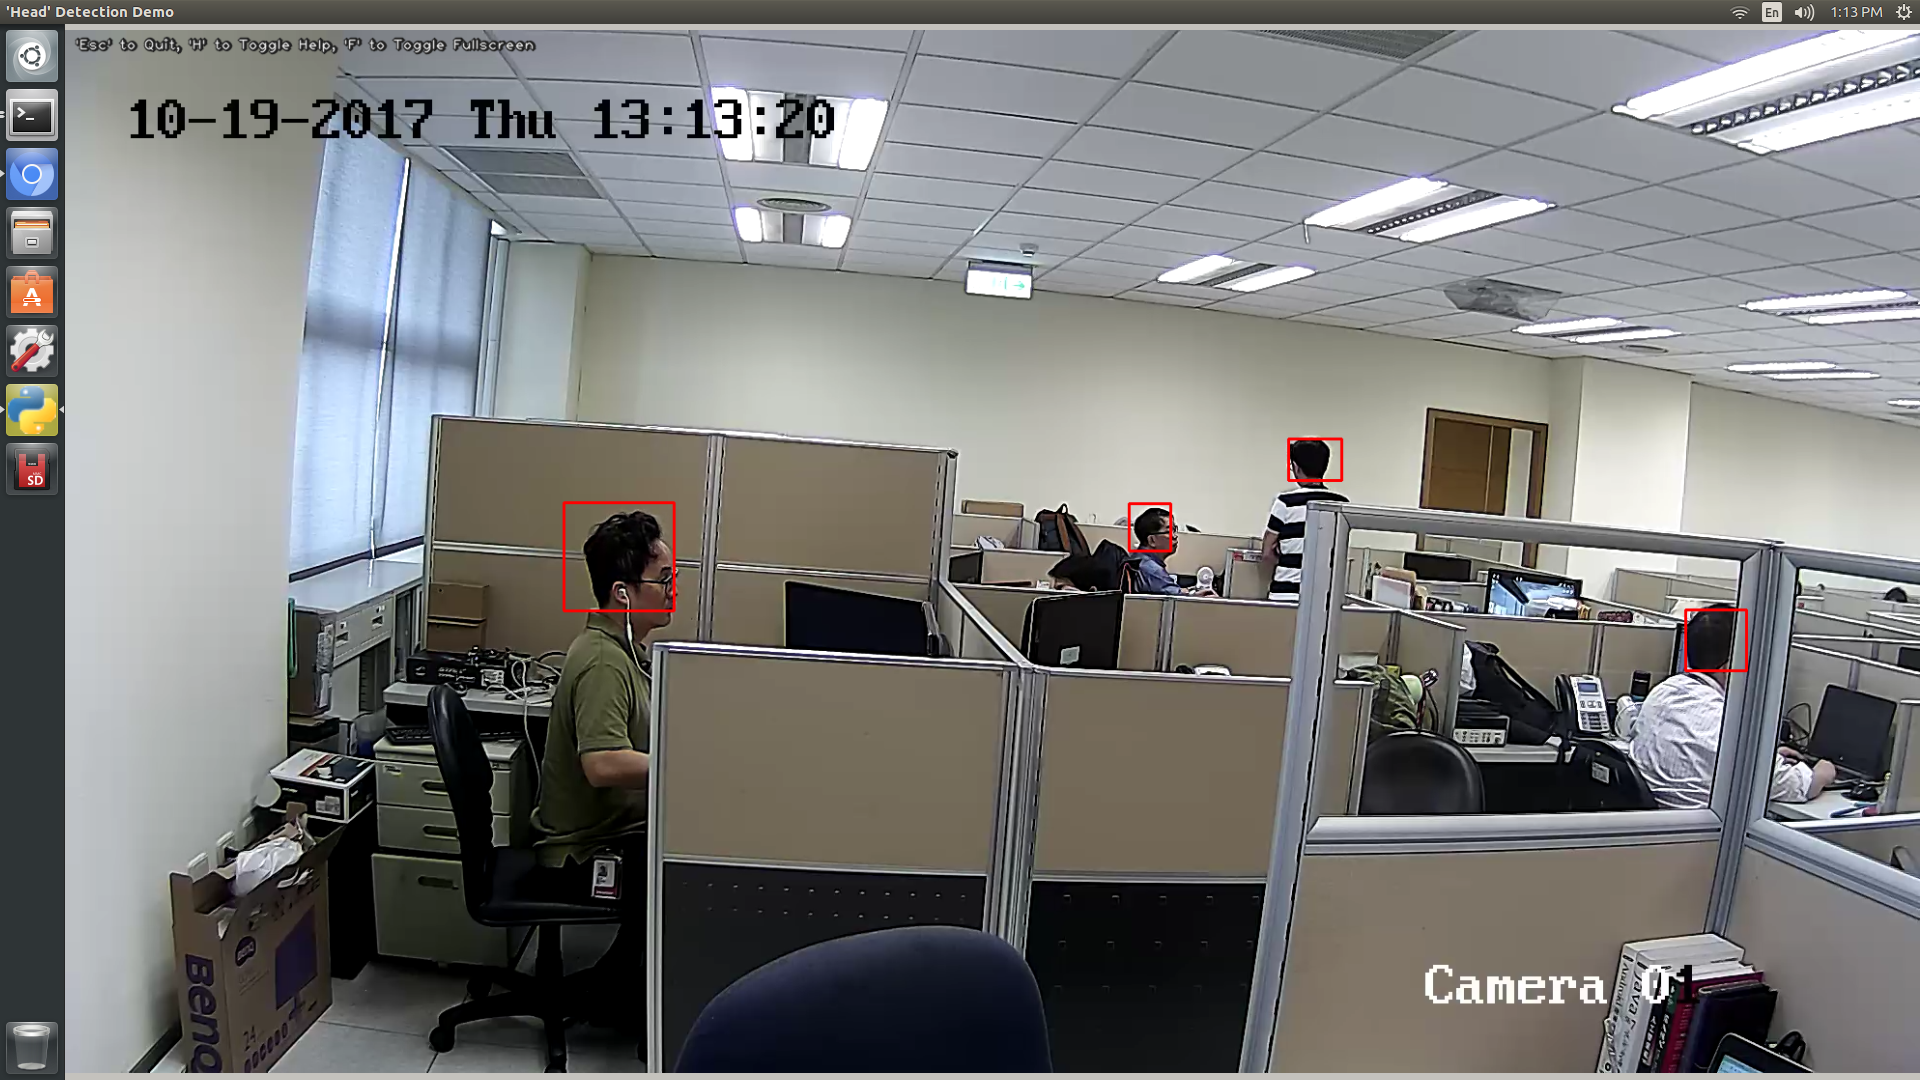
Notice that JK’s image was taken by Logitech C920 webcam, which pixel count is far less than ov5693, but Logitech claims to enhance it to an equivalent of 15MP. Apparently software plays a major role in the image quality. I just wonder what’s available on TX2.
Hi,
We have clarified the slight difference is specific to nvoverlaysink. Since it is slightly different, it is currently not in priority. AS a solution, we suggest use nveglglessink.